I get a number of questions every day inquiring as to how I make purple dabs, so today I’m going to give you the information you need to squeeze out some purple of your own.
Flower rosin is an extract that has become more popular because it’s easy to make, safe and the quality of the end product can be superb. Making flower rosin can be as simple as using a hair straightener, parchment paper and a small bud to create a solvent-less hash product. You don’t need an expensive closed loop system, and you aren’t working with volatile solvents that can potentially blow up, so it’s become the go-to for making oil at home. Plus, if done right, you can press out some high quality dabs in a jiffy.
What is flower rosin? Flower rosin is made with the application of heat and pressure to extract the essential oils from the cannabis plant. Cannabis flowers contain a large portion of moisture, so with the application of heat and pressure, you create steam vapor pressure, which ruptures the membrane of the trichomes and forces the essential oil to the nearest resting place away from the water source and applied pressure.
The color of flower rosin is gold a majority of the time, but we can yield purple or reddish colors if we approach the process with a slightly different variation to the standard Rosin Tech practice.
Can any plant make purple rosin? No! In order to create purple rosin, you will need the presence of anthocyanins in the cannabis. Anthocyanins are naturally occurring chemicals that are responsible for red, purple and magenta colors in cannabis. As the plant grows, it may adapt to its environment by creating anthocyanins within the cells of the leaves and trichomes. These pigments protect the plant by shielding the tissue like a sunblock, and most importantly, we can use Rosin Tech to extract these beautiful colors.
Can any purple bud make purple rosin? Yes and no! In order to squeeze out purple rosin, you need to use freshly harvested purple flowers. After you hang your plant to dry, wait about 36-48 hours before squeezing. At this point in the drying process, the moisture content is still very high in the buds, and the pH levels within the trichomes are still stable because it hasn’t gone through any oxidation.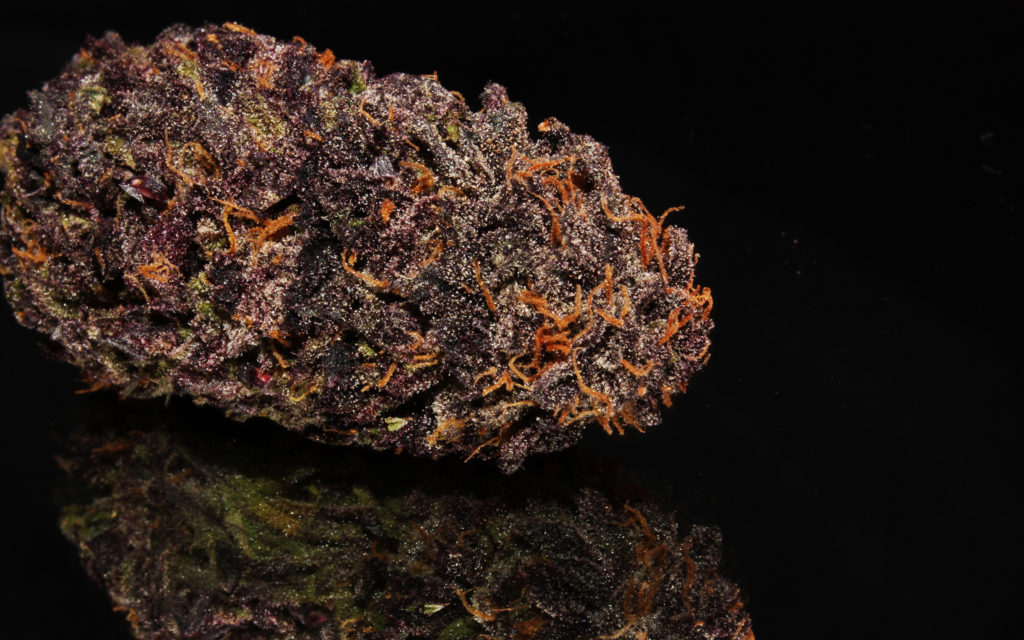 As the plant dries further and is exposed to heat, light and oxygen, the pH rises, locking out any potential color. You can still see the color, but it is too unstable to become part of an extract. If you use a properly dried purple nug, you’re going to bypass the dyeing stage, and you will yield a golden color.
With all that established, let’s get to work!
Step 1
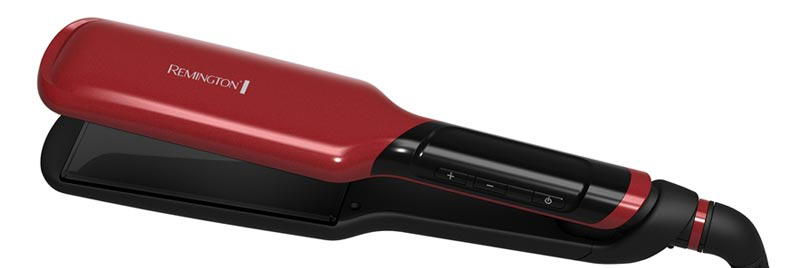 Prepare your heat/pressure device (i.e. hair straightener, T-shirt press, hydraulic press, etc.) by heating up to 240°F as a starting temperature. For this tutorial, I used a simple Remington Hair straightener and good ol’ American muscle. Hair straighteners sometimes have a digital temperature selection; if 300°F is the lowest it goes, it may be necessary to turn off the unit to allow it to decrease in temperature before pressing.
Step 2
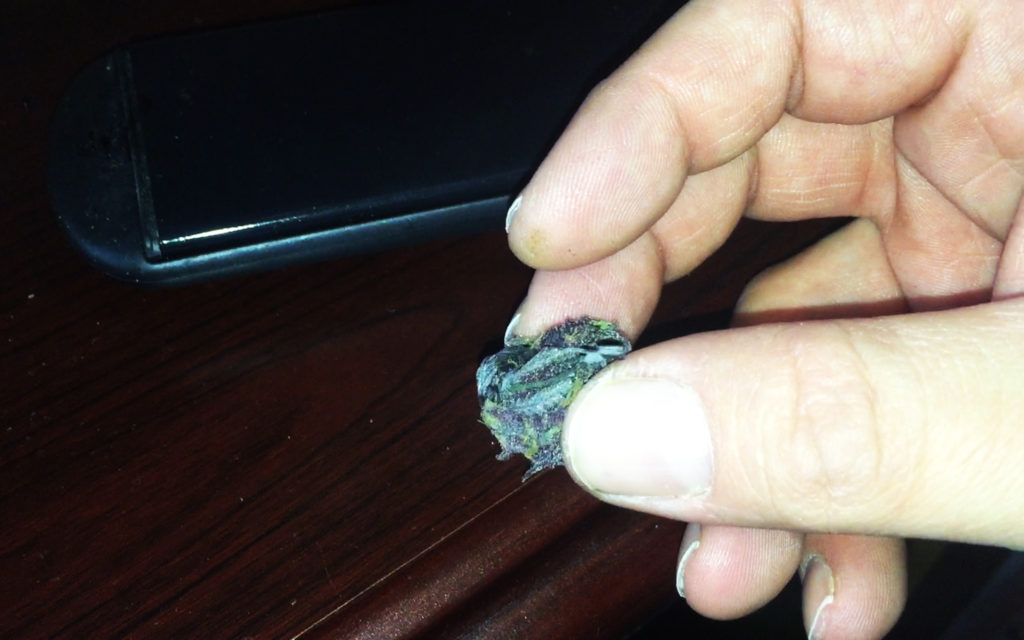 Prepare the nug that you want to squish by removing the end stem and pressing the bud into a round shape. You can use your fingers, or get creative by using the press or other compacting devices to achieve this.
Step 3
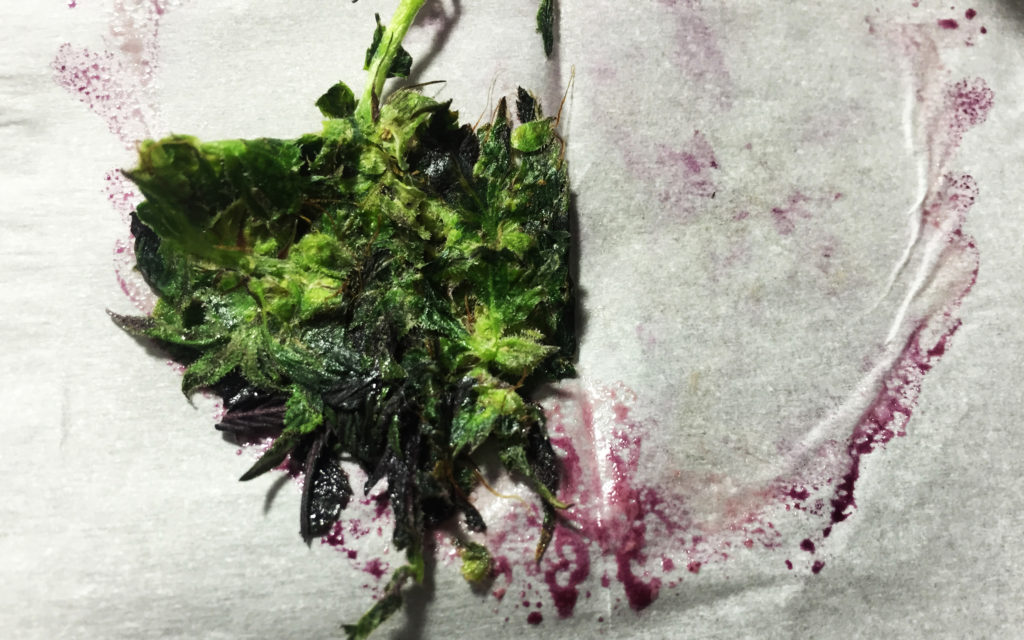 Place the bud in between a non-stick paper of your choice, for photography purposes I am going to use a 4×4 inch piece of standard white parchment paper and fold it in half by creasing it, then center the bud inside the paper sandwich. If you use parchment paper, I recommend unbleached.
Step 4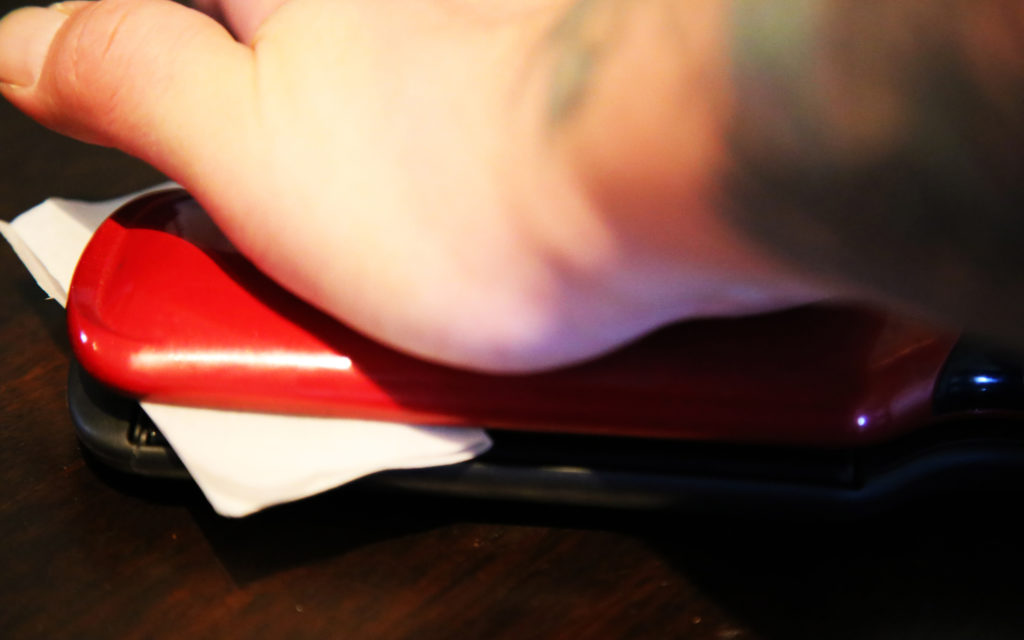 Lower and clamp your heat/pressure device onto the paper sandwich, press for about 5-10 seconds then release and remove from the heat. The duration of the pressure you hold depends on the temperature. The higher the temperature on the plates of your device, the shorter you want to hold pressure. If you apply too much heat for too long, this exposure will destroy terpenes, which directly influences the smell and taste of your end product.
Step 5
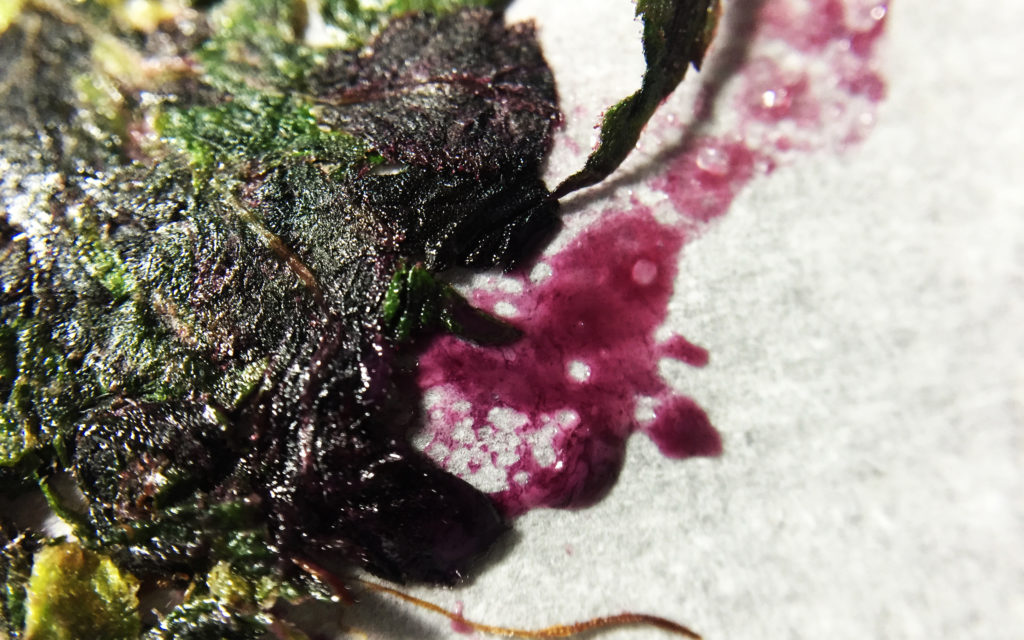 Remove the rosin bud chip from the paper. Gently collect the oil deposited around it with a glass or titanium dabber by very lightly running or rolling it over the oil. The oil should simply adhere to itself on the dabber; don’t scrape. If you have a lot of rosin, some might even like to use a rosin stamp when collecting large quantities, to maximize efficiency. Collecting the rosin is generally easy, but some times you may have to throw the paper in the fridge or freezer to harden before you can collect. Always use unbleached parchment to receive the end product.
Final Step
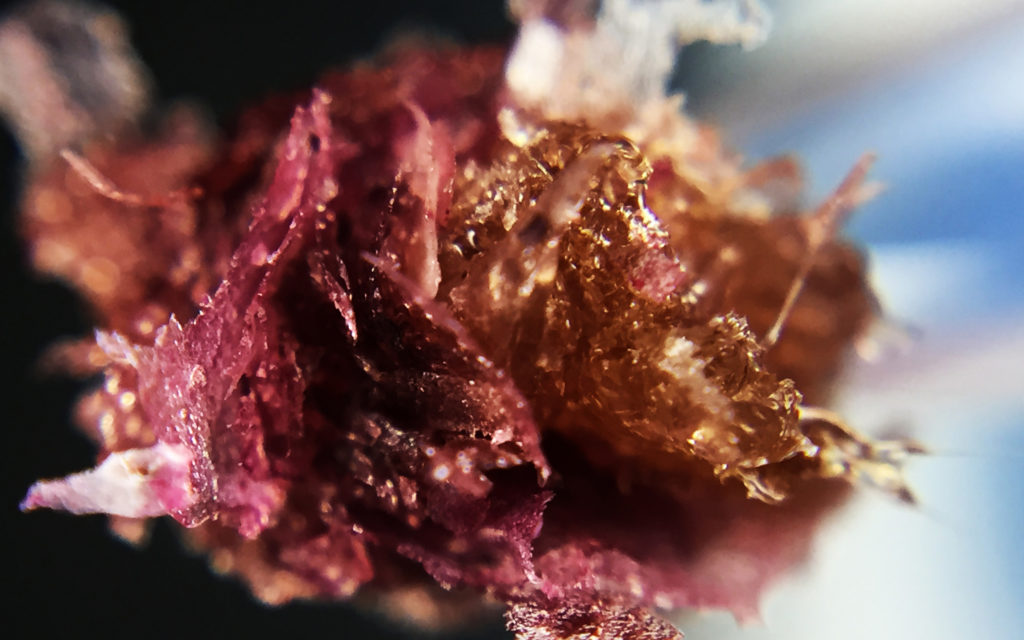 Place your collected rosin in the fridge to dry out any residual moisture before dabbing. If you wish to achieve a shatter-like consistency, cold dry it for a few extra days in the fridge in an open non-stick container, or parchment. The residual moisture should dry out leaving you with some nice shatter rosin.
You are now ready to sample!
Pro Tip: To ensure the flavor stays intact and as bright as possible, keep your temperatures as low as you can, while still yielding a decent amount of oil. If you overheat the flower, or press it too long, go ahead and rent some movies because your dabs will taste like burnt popcorn. Alternatively, you may need to increase the heat slightly depending on moisture content and the strain that you are working with to get a proper yield.
Pressing out flower rosin is a learning experience. Each variety should be treated differently, as they are all unique in their own way.
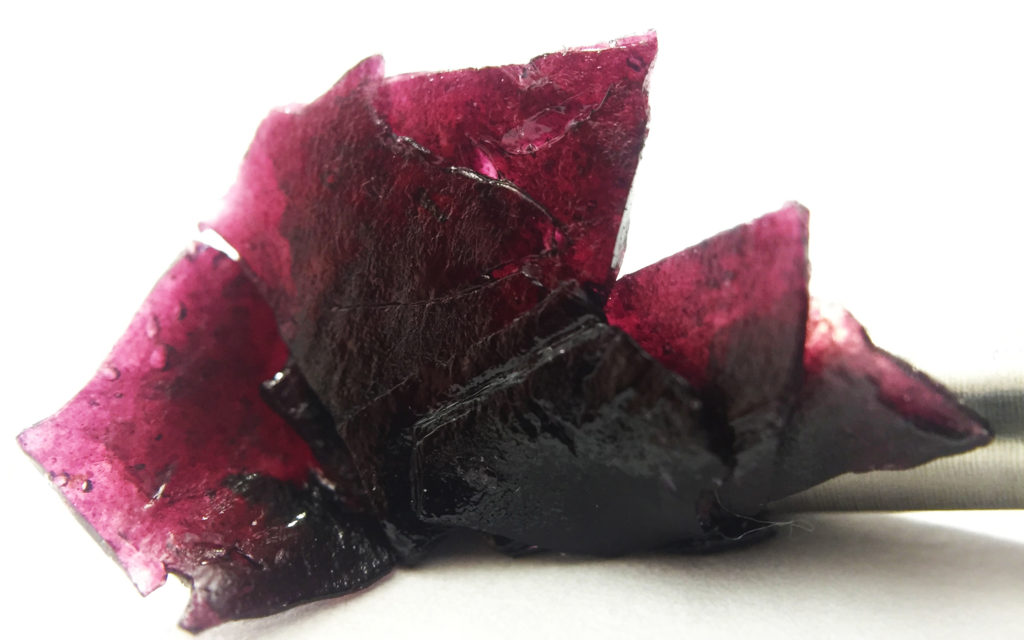
This should be a good starting point to get you going. Practice makes perfect!
from
http://hightimes.com/grow/so-you-want-to-learn-how-to-make-purple-dabs-do-you/
No comments:
Post a Comment